Laptop cooling fans play a vital role in keeping your device running smoothly and preventing overheating. Over time, these fans can become clogged with dust, dirt, and other debris, hindering their performance and potentially causing damage to your laptop. Therefore, regular cleaning of the laptop cooling fan is essential to maintain its efficiency and prolong the life of your device. In this article, we will discuss the importance of cleaning laptop cooling fans and provide step-by-step instructions on how to clean them effectively.
Understanding Why Laptop Cooling Fan Cleaning is Crucial
The cooling fan in a laptop is responsible for maintaining a safe operating temperature by dissipating heat generated by the internal components. When the fan becomes clogged with dust and dirt, it obstructs the airflow, leading to overheating. Overheating can cause a wide range of issues, including decreased performance, random shutdowns, shortened overall lifespan, and even permanent hardware damage.
Cleaning Tools and Workspace Setup for Laptop Cooling Fan
To clean your laptop cooling fan effectively, you will need a few tools. These include a small Phillips screwdriver, compressed air duster, cotton swabs, rubbing alcohol, a soft brush, and a microfiber cloth. Before starting the cleaning process, it is vital to set up a clean and tidy workspace. Make sure to work on a flat surface with good lighting to avoid losing any small screws during disassembly.

Step-by-Step Laptop Cooling Fan Cleaning
1. Turn off your laptop and disconnect the power cord. Remove the battery if possible.
2. Use the Phillips screwdriver to remove the bottom panel of the laptop.
3. Locate the cooling fan, which is usually near the processor. Carefully remove any screws or clips securing the fan in place.
4. Gently brush away any visible dust or debris from the fan blades using the soft brush.
5. Use compressed air duster to blow away any remaining dust and dirt from the fan and surrounding areas. Make sure to hold the can of compressed air upright while using it to prevent any moisture from entering the laptop.
6. Moisten a cotton swab with rubbing alcohol and carefully wipe the fan blades and the surrounding areas to remove any stubborn dirt or grime.
7. Allow the fan and the laptop components to dry completely before reassembling everything.
8. Put the fan back in place and secure it with the screws or clips.
9. Replace the laptop's bottom panel and tighten the screws.
Tips for Laptop Cooling Fan Regular Maintenance
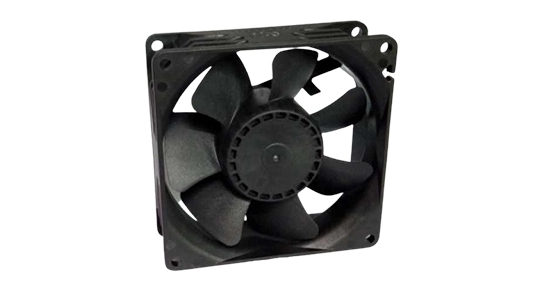
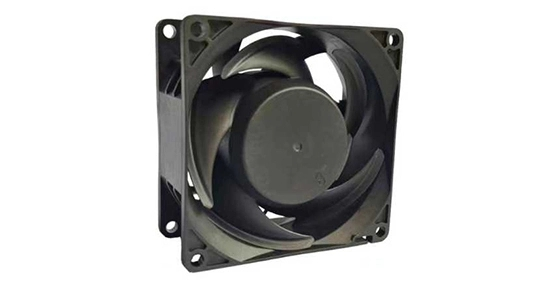
The application of axial fan is powerful. Regular maintenance of your laptop cooling fan is essential to keep it running efficiently. Here are a few tips to help you maintain your laptop cooling fan:
Clean the fan at least once every three to six months, depending on your usage and the environment you use your laptop in.
Keep your laptop on a hard surface while using it to allow proper air circulation and prevent dust accumulation.
Use a cooling pad or an elevated stand to provide additional airflow and prevent overheating.
Ensure there are no obstructions blocking the air vents of your laptop.
In conclusion, cleaning your laptop cooling fan is crucial for maintaining its efficiency and preventing overheating. By following the step-by-step cleaning process mentioned above, along with regular maintenance tips, you can keep your laptop running smoothly and extend its lifespan.


 EN
EN 

 +
+
 +
+
 +
+


